

We recently ran a lab project to migrate from 8x 4TB HDDs to 4x 16TB HDDs. Based on our experience and the questions we saw on Reddit, here is the write-up.
Hardware setup
Our NAS has 8 physical bays with no spare slots for the new drives. To work around that we used a 4-bay hard drive enclosure (DAS, direct attached storage) with USB-C at 10 Gbps.
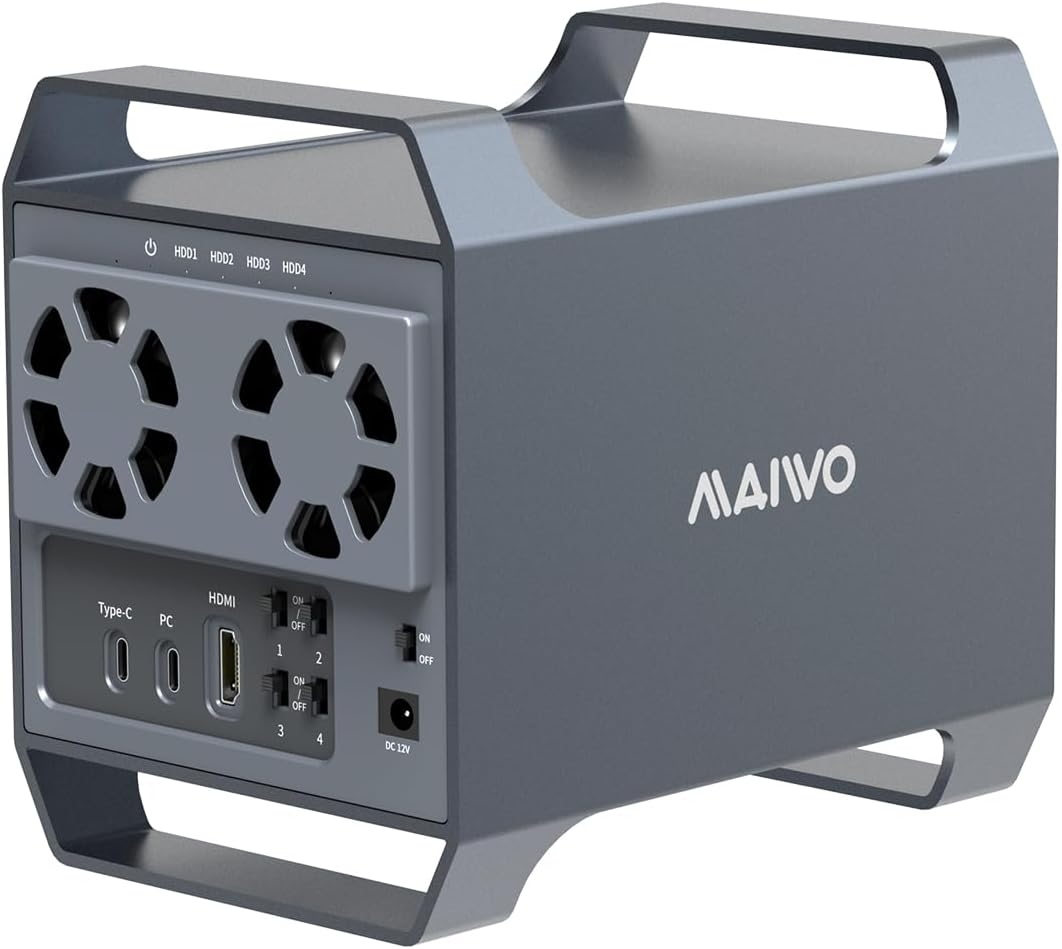
With the DAS we could:
- Attach the new drives to the TrueNAS appliance using a USB-C to USB-A 3.0 cable (DAS to the motherboard's internal USB 3.0 header).
- Create a new ZFS RAID on the new drives.
- Transfer data using ZFS snapshot replication via a TrueNAS Replication Task.
Setting up ZFS snapshot replication
Important: two datasets cannot share the same name. If a dataset named data already exists, name the new one data_2 for now.
When configuring the Replication Task, pay close attention to the Destination Dataset Read-only Policy setting:
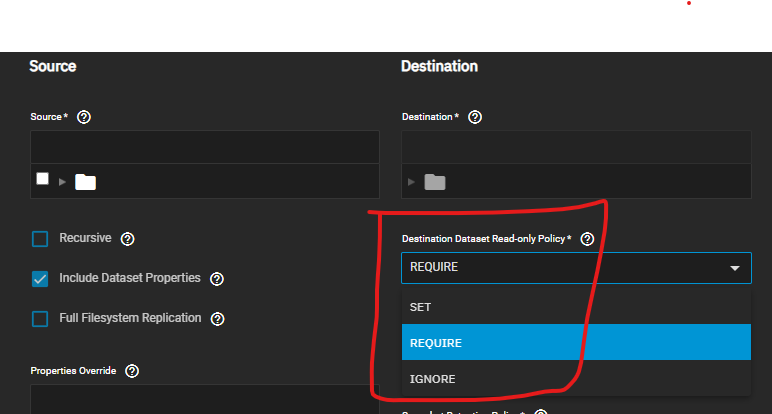
- SET changes all destination datasets to
readonly=onafter replication completes. - REQUIRE stops replication unless all destination datasets have
readonly=on. - IGNORE disables read-only enforcement during replication.
We overlooked this, and after the transfer the dataset was stuck read-only. The fix:
1. List the ZFS datasets:
zfs list2. Disable the read-only flag on each dataset. With a pool named data and datasets backups and binaries:
zfs set readonly=off data
zfs set readonly=off data/backups
zfs set readonly=off data/binaries
Before renaming or switching pools, disable all externally available services: SMB, NFS, iSCSI.
Finalizing the migration
- Run a final replication pass so all data is current.
- In the TrueNAS UI go to Storage → Export/Disconnect and remove both datasets.
- Physically disconnect the old drives and connect the new ones.
- Rename the new pool from
data_2todatafrom the shell:
zpool import data_2 data5. Export the new pool:
zpool export data6. Re-import it in the TrueNAS UI (Storage → Import Tool).
This let us move the data from the old drives to the new ones using TrueNAS replication, with all shares and configuration intact and no downtime beyond the swap itself.


